Showing posts with label bag. Show all posts

February 22, 2017

Anleitung zum Nähen einer LED-Tasche

Dieser Post ist für meine beste Freundin Shin!


Ihr hat meine Geeky Cat Bag gefallen und vor einiger Zeit haben wir zusammen einen Workshop für entwickelt, bei dem wir mit den Teilnehmern derartige Taschen hergestellt haben. Den Workshop haben wir jetzt zweimal auf dem Chaos Communication Congress durchgeführt und werden damit im Mai auch auf der Make Munich 2017 sein. Da das Publikum dort eher nichts mit Nähen zu tun hat, haben wir die Elektronik auf fertige Umweltbeutel aufgenäht und die Filzmotive mit Stoffkleber aufgeklebt. Nun möchte Shin aber auch mal eine Tasche richtig selber nähen und da sie Nähanfängerin ist, hat sie mich um eine Anleitung gebeten. Leider leben wir gute 300km voneinander entfernt und so haben wir nur wenig Gelegenheit, zusammen zu nähen. Also habe ich ihr eine Videoanleitung in fünf Teilen erstellt.

Falls ihr auch so eine Tasche nähen wollt (oder jemanden kennt, der eine Tasche nähen will): die Anleitung ist anfängerfreundlich (so jedenfalls der Plan).
Vorlagen für die Motive und die Schaltpläne gibt es auf Github (alle Pläne, die als "easy" gekennzeichnet sind, eignen sich für die beschriebene Tasche).
Die elektronischen LilyPad-Teile und den leitenden Faden kann man im Internet bei Boxtec oder SparkFun bestellen.

Teil 1: Materialien, Vorbereitung und Zuschnitt


Teil 2: Handytasche im Innenfutter


Teil 3: Reissverschlusstasche im Innenfutter


Teil 4: Motiv und Elektronik aufnähen


Teil 5: Fertigstellung


November 17, 2013

Geeky Cat Bag

I got an e-sewing kit as a present, and this is what I made from it and my first experience with e-textiles! A project without a "serious" purpose, just for fun. 

Ich habe einen Satz elektronischer Bauteile zum Einnähen und Erstellen von E-Textiles geschenkt bekommen und mein erstes Projekt damit fertig gestellt.


It's a geeky tote bag with a cat on it. The LED eyes of the cat glow up when there is no daylight around; they are connected to a light sensor (on the tail). Then there is also a temperature sensor that shows the ambient temperature range with the help of different colors on a RGB-LED (red-purple-green-blue) at the right side of the cat. Unfortunately, the temperature sensor does not work very well…

Es ist eine Tasche mit einer Katze aus Filz darauf. Die LED-Augen der Katze leuchten wenn das Umgebungslicht dunkel genug ist, sie sind an einen Lichtsensor (auf dem Schwanz) gekoppelt. Es gibt auch einen Temperatursensor, und eine RGB-LED gibt den ungefähren Temperaturbereich mit Hilfe unterschiedlicher Farben an (rot-violett-grün-blau), rechts neben der Katze. Leider funktioniert der Temperatursensor nicht besonders gut...


All the electronic components are connected to the main board, the Lilypad Arduino. I did the programming myself, and it was a difficult piece of work for me, as I never ever did any programming before!

Alle elektronischen Komponenten sind mit dem Mainboard verbunden, einem Lilypad Arduino. Den habe ich selber programmiert, was für mich ein hartes Stück Arbeit war. Ich habe eigentlich keine Ahnung vom Programmieren, das war mein erster Einstieg ins Thema!


See how the Lilypad Arduino is sewn to the bag? The holes are the connection pins to the main board, and the thread is not normal thread, but conductive thread. Also, all the other components are connected by running stitches of conductive thread at the wrong side of the fabric, so there are no cables around, and I can even hand wash the bag when the battery is taken out.

Die Öre aussen am Lilypad Arduino sind die Anschlüsse für die elektronischen Komponenten, und der Faden, mit dem der Arduino festgenäht ist, ist elektronisch leitender Faden. Alle Komponenten sind auf der Innenseite der Tasche mit dem Arduino über einfache Stiche mit leitendem Faden verbunden. Es gibt also keine "normalen" schweren Kabel, sondern nur die Nähte. Die Tasche ist mit allen Komponenten sogar waschbar (in der Handwäsche), wenn man vorher die Batterie rausnimmt!


I made the pattern for the bag by myself. Making the bag itself was easy, but the electronic stuff required some more thinking and planning to get it right.

Den Schnitt für die Tasche habe ich selber gemacht. Die Tasche selbst war einfach, aber wegen der ganzen Elektronik musste ich dann doch etwas länger tüfteln. 


I lined the bag completely, to cover the conductive thread stitches and to have a nicer finish. As I did not want the battery to show up outside of the bag, I added a small inner pocket for the bag. The battery plugs into a LiPower, which is connected to the outer side of the bag with conductive thread.

Ich habe die Tasche dann noch komplett gefüttert, damit die Fadenleitungen geschützt sind und die Tasche von innen besser aussieht. Den Akku wollte ich auf keinen Fall aussen an der Tasche haben, der kommt in eine kleine Innentasche und wird in einen LiPower eingesteckt, der dann wieder über leitenden Faden mit der Taschenaussenseite verbunden ist. 


As I plan to use this bag a lot, I also added a zipper pocket to put my passport in and some inner pockets for my mobile phone, a pencil, and such smaller stuff.

Damit ich die Tasche wirklich gut nutzen kann, habe ich innen noch eine Tasche mit Reissverschluss für meinen Pass eingebaut und innen aufgesetzte Taschen für mein Handy, einen Stift und den nötigen Kleinkram hinzugefügt. 


If you want to make an e-textile project by yourself, you can buy all the necessary components here (but better buy another temperature sensor that works better)!

Falls Ihr auch mal Elektronik in Textilien einbauen wollt, könnt ihr die Lilypad-Bauteile hier oder hier einkaufen (aber vielleicht nehmt ihr besser irgend einen anderen Temperatursensor, der besser funktioniert). 


May 28, 2012

Bag Sewing Disaster

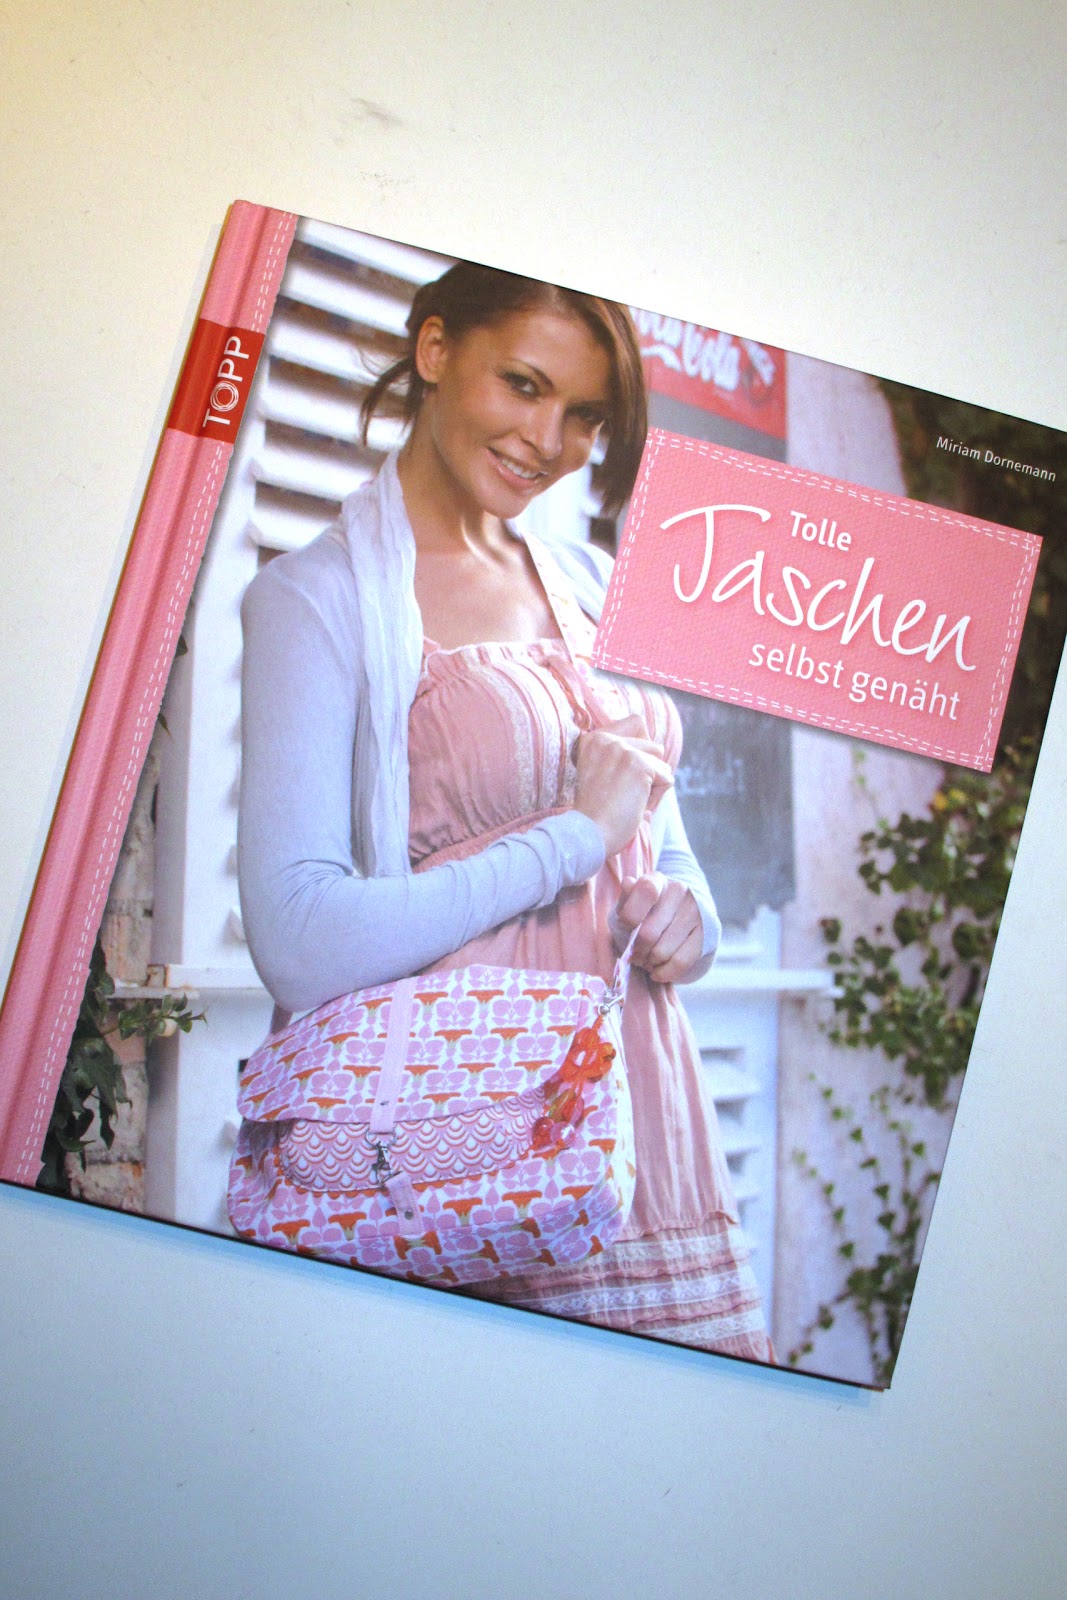
I have a friend who likes sewing, just like me. Unlike me, she doesn't sew garments, instead she makes bags and cushions. I have to say that I never felt very motivated to sew any bags or decorating stuff. I wanted to make a bag about three months ago, and I cut out the fabric and then forgot about it. It is still lying around somewhere, unsewn. But seeing all the nice things my friend made, and with a beautiful fabric I found this week in my Bernina shop, I wanted to try again to make a bag. So I prepared for it, took my new fabric and bought the recommended bag sewing book.


I knew it would be a lot of work, but I also thought it would be easy. Stupid me. It wasn't.
Obviously there is a difference between sewing garments and sewing bags that I cannot explain. I just had difficulties in understanding the instructions, and I also found it technically not that easy to sew those seams. I felt like when I started sewing garments about six years ago, where I struggled to get those pieces together without really knowing what I was doing.

This is the result of an afternoon of painstaking work (please don't look at it too closely, it looks a lot better from far!):


The bag is huge! I didn't expect it to be that big when I saw the photo in the book, and I still wasn't suspicious when I copied the pattern, but it is about twice the size I expected (and wanted) it to be!

I lined the whole bag in pink cotton poplin, and added an inner pocket to it to use up the fabric scraps. Nice idea, but for some unknown reason I put it much too deep into the bag, so the inner pocket now ends where the bottom of the bag is. Although I had to put it in two times, because the first time I forgot to close the bottom of the pocket, so that everything would have fallen out.


I gave up the moment I had sewn the straps together and wanted to turn them over. After I had finally turned over the first centimeters, it was obvious that I didn't want to spend the whole night and tomorrow just for turning over the shoulder straps.


So I cut them again but wider and shorter, which went a lot better.
At the end, I didn't get the bag I had in my mind, but at least a complete bag. Maybe I can take it to the lake with some lemonade and a good book in it in summer!
And now I'm off to sew only garments again, phew!


Related Posts Plugin for WordPress, Blogger...